![]()
![]()
![]()
![]()
|
|
|
|
|
Timestamp and Update Frequency
If needed, make changes to the default timestamp interval and/or the logging update frequency.
Timestamp represents the interval between two timestamp messages. Enter a time in seconds between 0 – 99999. Note that entering 0 disables timestamps for port logging.
The update frequency is the interval between each data push to the port log file, port syslog and NFS port logging, if they are enabled. The default value is 30 seconds.
Data is buffered in SX II during the time between the intervals or until the appliance buffer is full. This feature manages the logging traffic so it is not pushed continuously.
I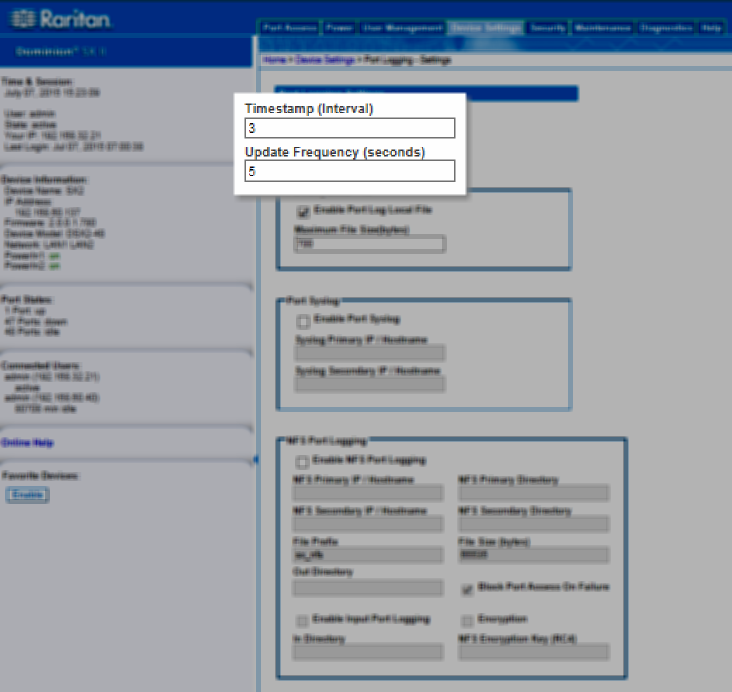
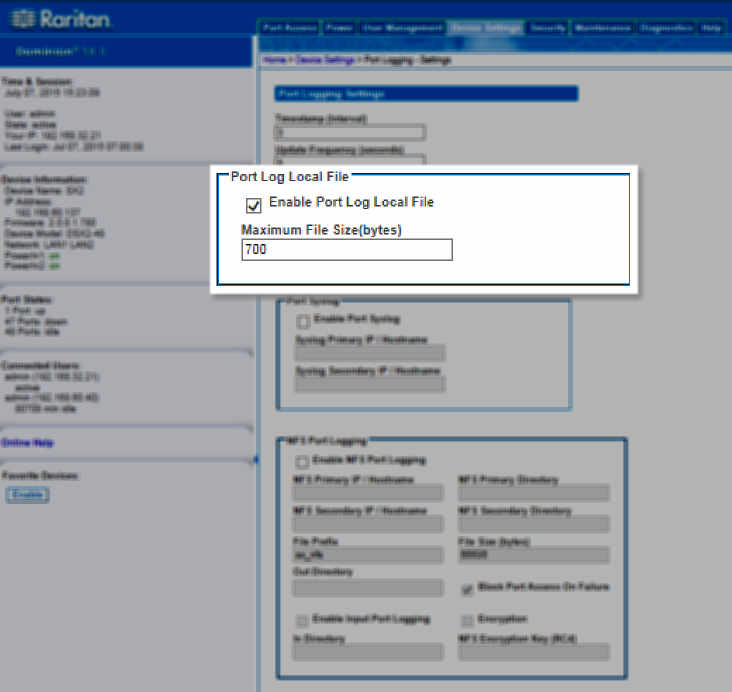
Port Log Local File
Enable the Port Log Local File to capture data for each port locally on SX II.
Log files are stored on SX II's internal flash drive. For 8 and 16 port models, there is 2GB internal flash drive. All other models have 8GB flash drive.
If needed, enter a maximum file size. Files that exceed the maximum are not saved. To retrieve the files, see Manage Port Logging - Local Files.
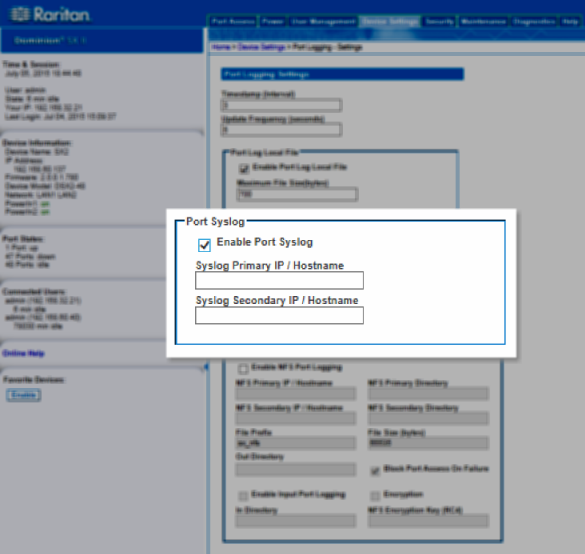
Port Sys Log
This feature sends event log messages to a remote Syslog server. The messages from the SX II appliance are sent to the LOCAL0 channel of the Syslog server for more efficient parsing.
Since all messages are sent from the LOCAL0 channel on the syslog server, all port output resides in the same file. Please use NFS Port Logging if you prefer separate files for each port's data.
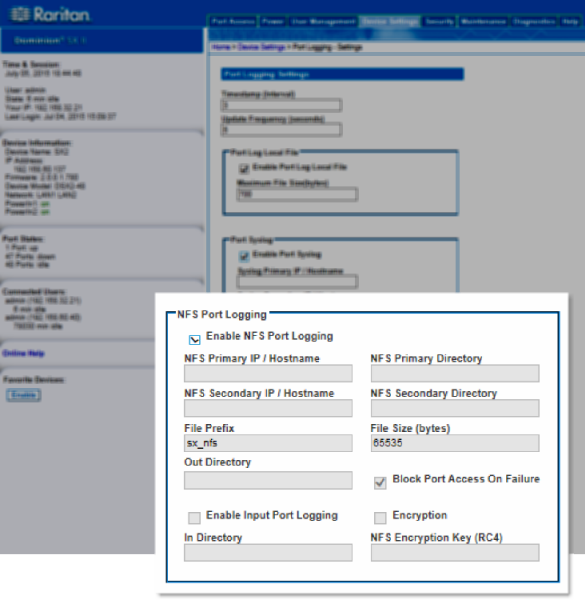
Network File System (NFS) Logging
Network File System (NFS) logging allows you to log all port activity to an NFS shared directory. All user activity and user port logins and logouts are logged. There are two log files:
You must also enable port logging. For more information on port logging, see Enable Port Logging.
Note: The NFS server must have the exported directory with write permission for the port logging to work.
This feature specifies NFS mount behavior, and NFS behaves as a soft mount.
When it is a soft mount, NFS is re-mounted if an operation goes wrong on the file system.
If the re-mount succeeds, logging continues; otherwise, further logging events are inhibited.