![]()
![]()
![]()
![]()
|
|
|
|
|
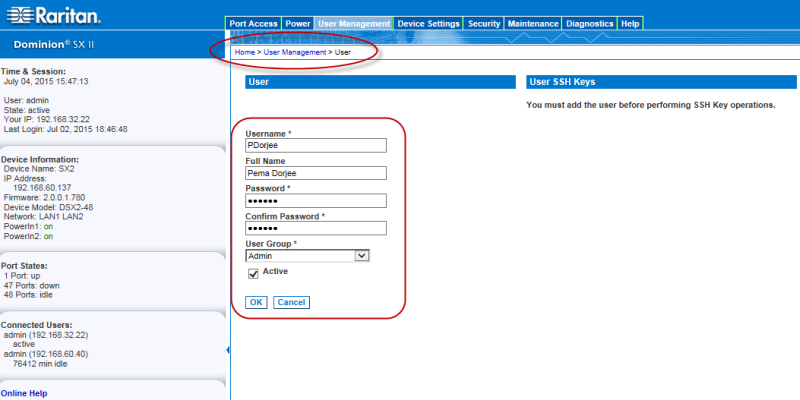
Note: If the strong password feature is enabled, there are other password requirements. See Strong Passwords for details.
If you do not want to associate this user with an existing User Group, select Individual Group from the drop-down list. For more information about permissions for an Individual Group, see Setting Permissions for an Individual Group.
To deactivate this account, deselect this checkbox. You can return at any time and activate the user when necessary.