SX II uses the Secure Socket Layer (SSL) protocol for any encrypted network traffic between itself and a connected client.
When establishing a connection, SX II has to identify itself to a client using a cryptographic certificate.
It is possible to generate a Certificate Signing Request (CSR) and install a certificate signed by the Certificate Authority (CA) on the SX II. Both SHA-1 and SHA-2 CSRs are supported.
The CA verifies the identity of the originator of the CSR.
The CA then returns a certificate containing its signature to the originator. The certificate, bearing the signature of the well-known CA, is used to vouch for the identity of the presenter of the certificate.
Important: Make sure your SX II date/time is set correctly.
When a self-signed certificate is created, the SX II date and time are used to calculate the validity period. If the SX II date and time are not accurate, the certificate's valid from - to date range may be incorrect, causing certificate validation to fail. See Configuring Date/Time Settings.
Note: The CSR must be generated on the SX II.
Note: When upgrading firmware, the active certificate and CSR are not replaced.
To create and install a SSL certificate:
Select Security > Certificate.
Complete the following fields:
Common name - The network name of the SX II once it is installed on your network (usually the fully qualified domain name). The common name is identical to the name used to access the SX II with a web browser, but without the prefix “http://”. In case the name given here and the actual network name differ, the browser displays a security warning when the SX II is accessed using HTTPS.
Organizational unit - This field is used for specifying to which department within an organization the SX II belongs.
Organization - The name of the organization to which the SX II belongs.
Locality/City - The city where the organization is located.
State/Province - The state or province where the organization is located.
Country (ISO code) - The country where the organization is located. This is the two-letter ISO code, e.g. DE for Germany, or US for the U.S.
Challenge Password - Some certification authorities require a challenge password to authorize later changes on the certificate (e.g. revocation of the certificate). Applicable when generating a CSR for CA Certification.
Confirm Challenge Password - Confirmation of the Challenge Password. Applicable when generating a CSR for CA Certification.
Email - The email address of a contact person that is responsible for the SX II and its security.
Key length - The length of the generated key in bits. 2048 is the default.
To generate, do one of the following:
To generate self-signed certificate, do the following:
Select the Create a Self-Signed Certificate checkbox if you need to generate a self-signed certificate. When you select this option, the SX II generates the certificate based on your entries, and acts as the signing certificate authority. The CSR does not need to be exported and used to generate a signed certificate.
Specify the number of days for the validity range. Ensure the SX II date and time are correct. If the date and time are not correct, the certificate's valid date range may not be calculated correctly.
Click Create.
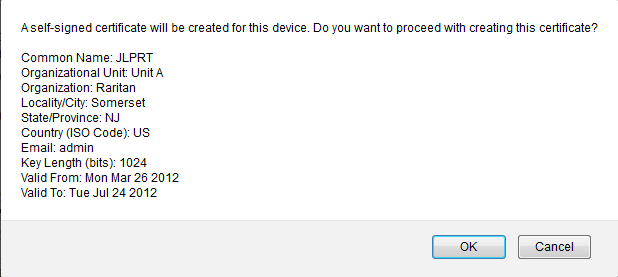
A confirmation dialog is displayed. Click OK to close it.
Reboot the SX II to activate the self-signed certificate.
To generate a CSR to send to the CA for certification:
Click Create.
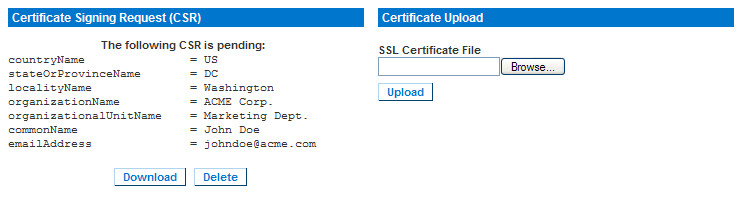
A message containing all of the information you entered appears.
The CSR and the file containing the private key used when generating it can be downloaded by clicking Download CSR.
Send the saved CSR to a CA for certification. You will get the new certificate from the CA.
Note: The CSR and the private key file are a matched set and should be treated accordingly. If the signed certificate is not matched with the private key used to generate the original CSR, the certificate will not be useful. This applies to uploading and downloading the CSR and private key files.
Once you get the certificate from the CA, upload it to the SX II by clicking Upload.
Reboot the SX II to activate the certificate.
After completing these steps the SX II has its own certificate that is used for identifying the card to its clients.
Important: If you destroy the CSR on the SX II there is no way to get it back! In case you deleted it by mistake, you have to repeat the three steps as described above. To avoid this, use the download function so you will have a copy of the CSR and its private key.