![]()
![]()
![]()
![]()
|
|
|
|
|
The Auto Scan feature uses one of the Dominion KX IV–101 video channels to automatically scan and capture a screenshot of your target video at a specified time interval. Images are scaled and saved to a directory on your Network File Server. Image files are named after the port name, and saved as .JPG files. The image file is overwritten as each new capture is saved.
PC Share Mode should be enabled when using Auto Scan to ensure images can be captured and sent to the NFS server. When PC Share Mode is disabled, Auto Scan cannot capture a port image when the port is already occupied by another user. Go to Security > KVM Security to enable PC Share Mode.
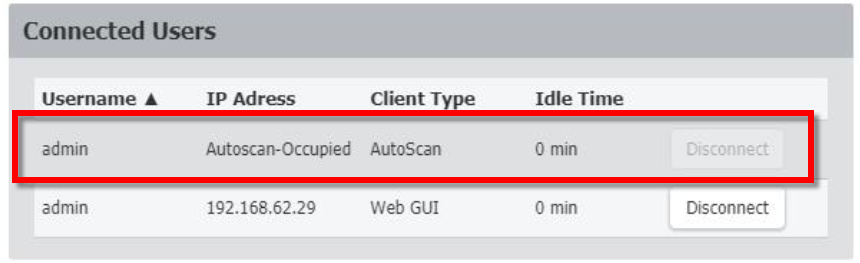
While Auto Scan is enabled, the function will perform similarly to a connected user. In the User Management > Connected Users list, details are listed as shown here. The connection occupied by Auto Scan can be "disconnected" by disabling Auto Scan.
/nfs/autoscan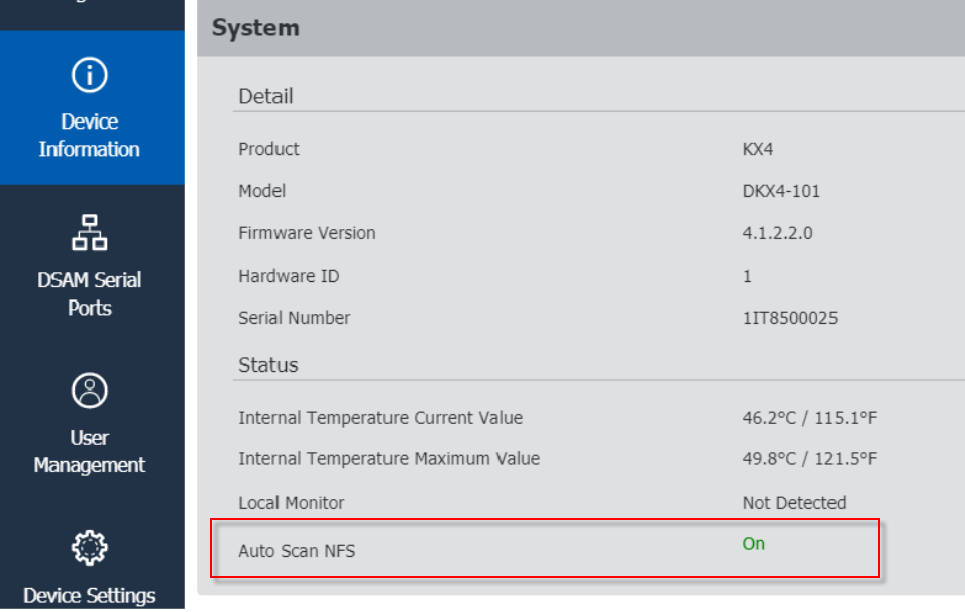
When Auto Scan is disabled, it does not appear in Device Info > Status. When enabled, possible status are: