![]()
![]()
![]()
![]()
|
|
|
|
|
Important: Once you are connected to a virtual media drive, do not change mouse modes in the KVM client if you are performing file transfers, upgrades, installations or other similar actions. Doing so may cause errors on the virtual media drive or cause the virtual media drive to fail.
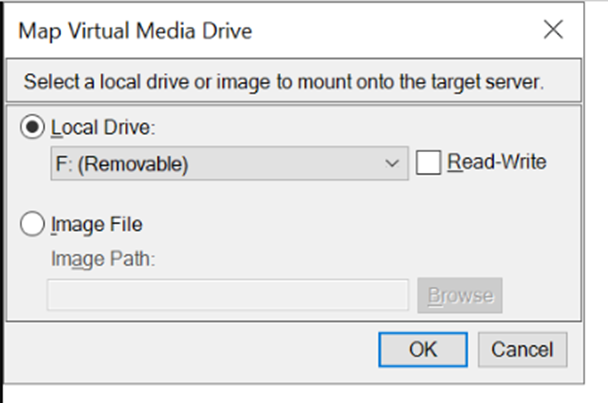
If you want Read and Write capabilities, select the Read-Write checkbox.
This option is disabled for nonremovable drives. See the Conditions when Read/Write is Not Available for more information.
When checked, you will be able to read or write to the connected USB disk.
WARNING: Enabling Read/Write access can be dangerous! Simultaneous access to the same drive from more than one entity can result in data corruption. If you do not require Write access, leave this option unselected.