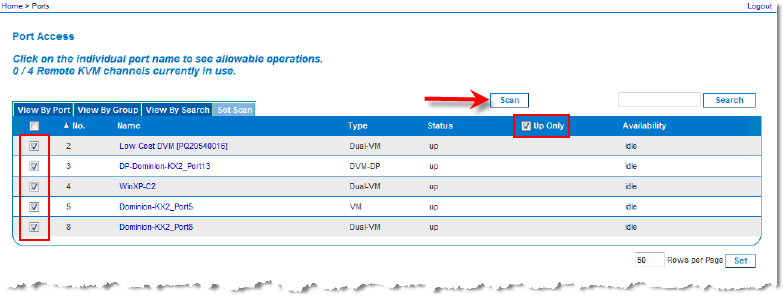
Select the targets you want to include in the scan by selecting the checkbox to the left of each target, or select the checkbox at the top of the target column to select all targets.
Leave the Up Only checkbox selected if you only want targets that are up to be included in the scan. Deselect this checkbox if you want to include all targets, whether up or down.
Click Scan to begin the scan.
As each target is scanned, it is displayed in slide show view on the page.
Click Options > Pause to pause the slide show and stop it from moving between targets, click Options > Resume to resume the slide show.
Click on a target thumbnail to scan it next.
Connect to a target by double clicking on its thumbnail.